Open Pixlr Express and upload your photo.
Remove Object From Photo For Free
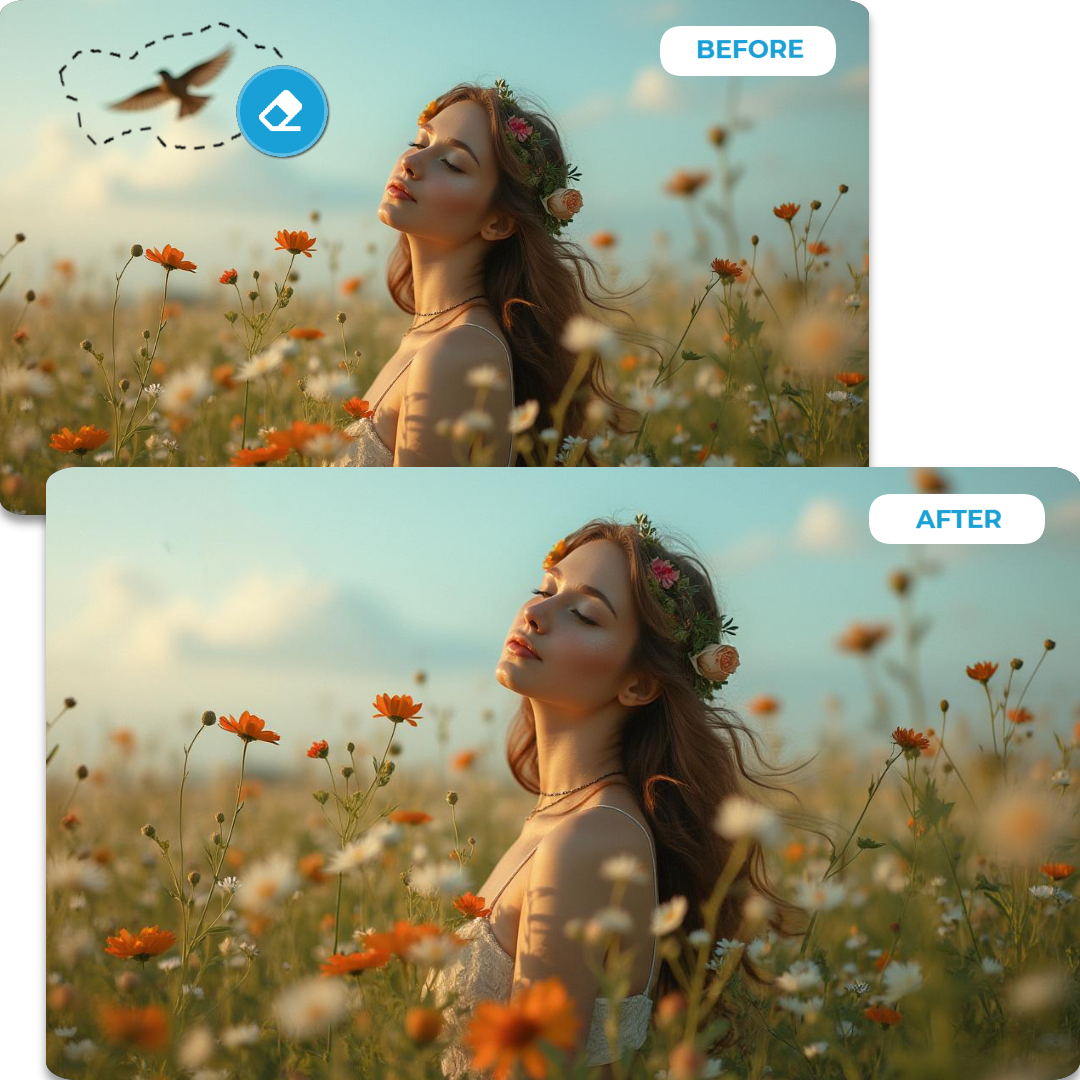
Say goodbye to imperfections with Pixlr’s Remove Object tool. From erasing strangers in your vacation photos to removing distractions in product images, this tool blends technology and convenience to deliver flawless edits in no time.
How To Erase Imperfections From Photos
1
2
Click on AI Tools from the left menu, select the Remove Object Tool, and choose Spot for small touch-ups or Object for larger areas.
3
Use your cursor to draw around the object you want to remove. The AI will seamlessly blend the surrounding area and erase the object.
4
Click the “Save” button. Choose your preferred format - JPG, PNG, PDF, or WEBP, and adjust the image quality using the slider.

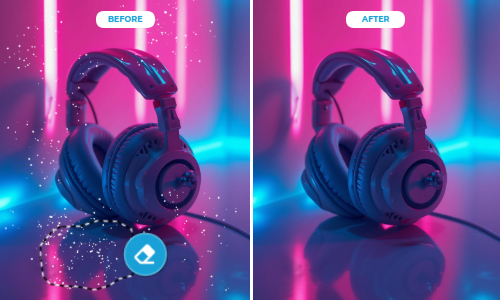
Erase Images Like Magic
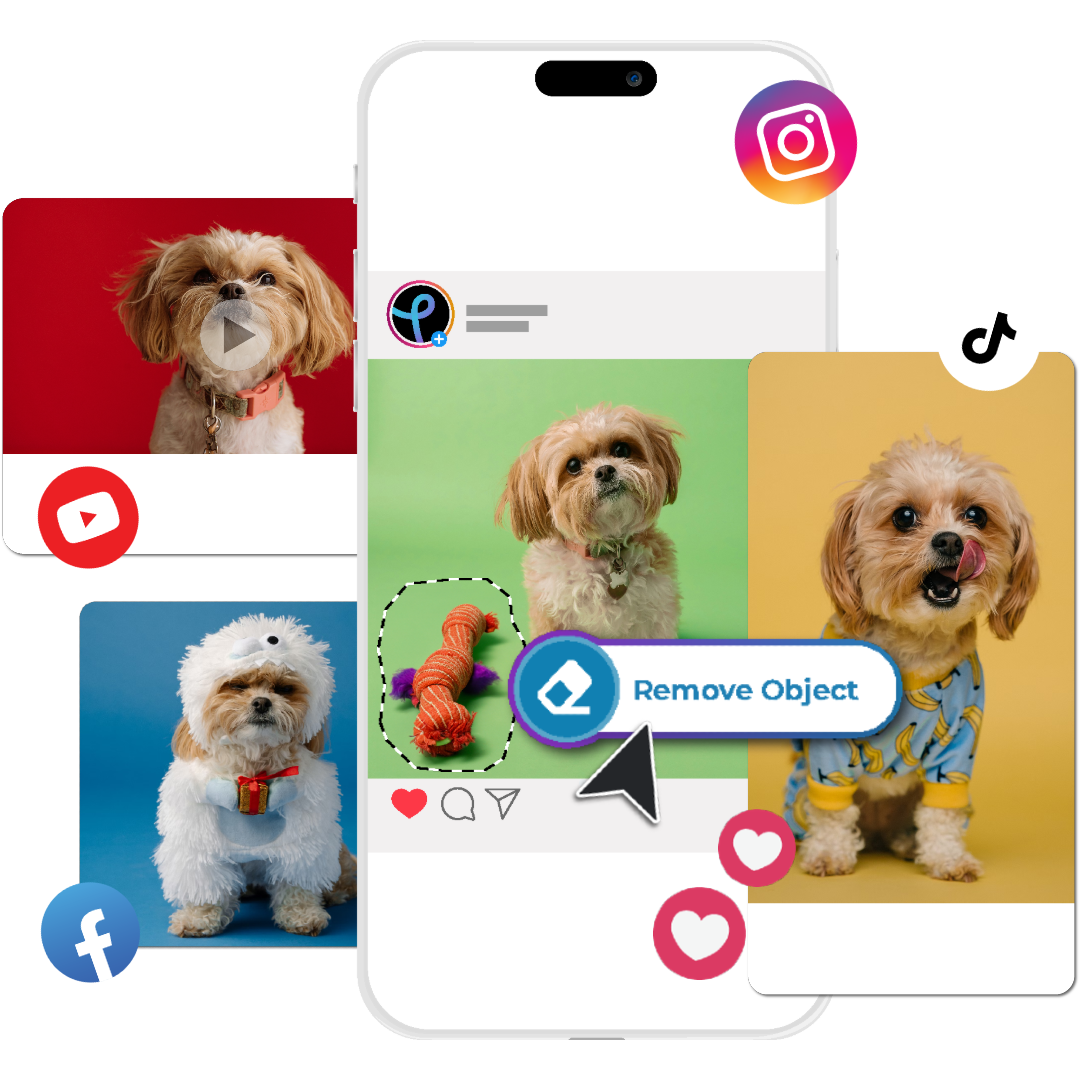
Say goodbye to distractions in your photos! Our Image Eraser empowers you to erase unwanted elements seamlessly. Whether it’s a photobomber, a stray object, or blemishes, this advanced Remove Object tool blends the background effortlessly, so it’s as if the object was never there. Perfect for creatives and professionals seeking precision without compromise.
Clean Up Images To Create A Masterpiece
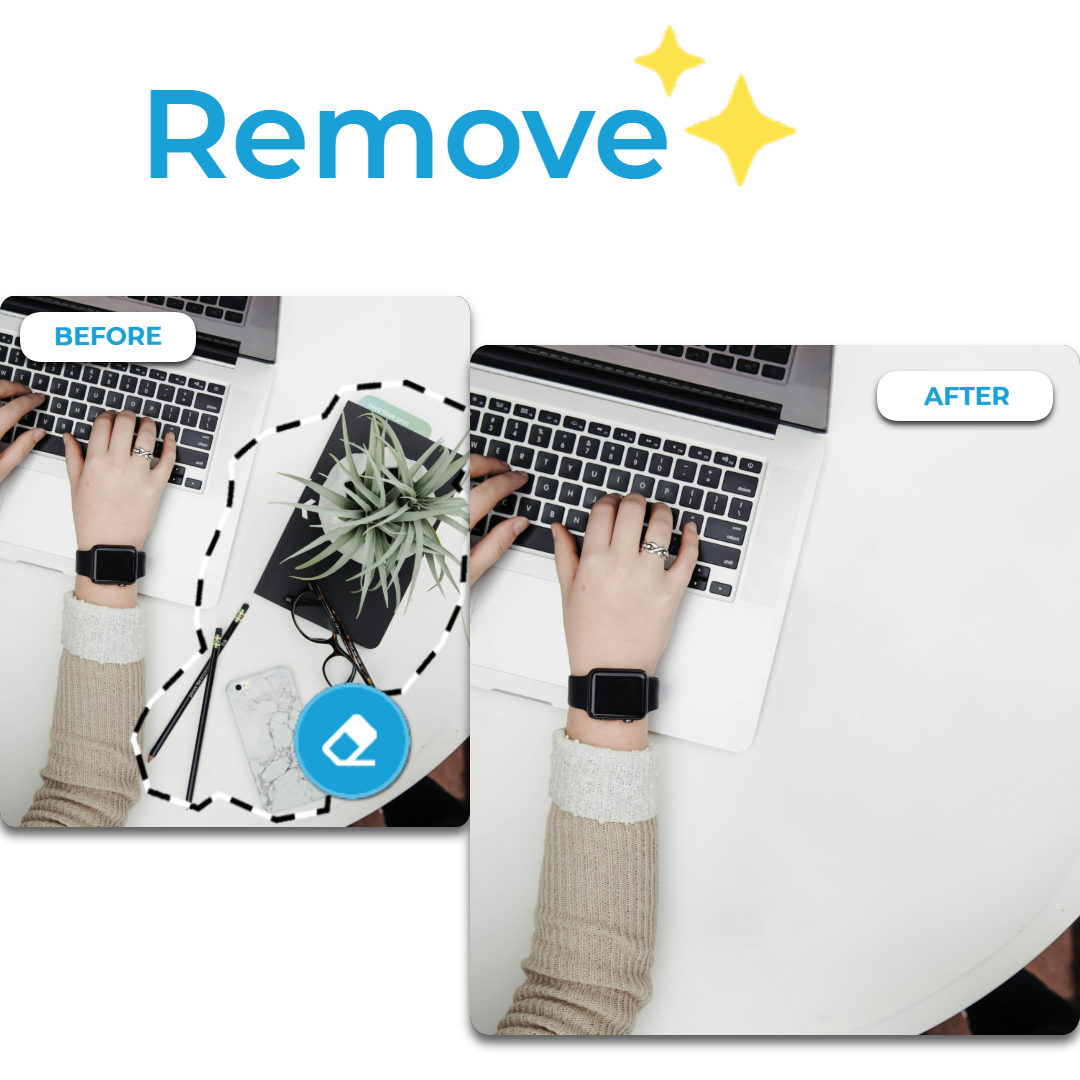
Turn good photos into great ones with our Remove Object solution. Ideal for photographers, designers, and content creators, the tool simplifies editing by removing imperfections, clutter, or outdated elements. A clean canvas means better storytelling - let your images speak louder by highlighting what truly matters.
Remove Unwanted Objects From Stock Photos
Stock images often fall short due to irrelevant objects. With our remove object feature, reclaim control over visuals. Erase unwanted details to match your brand’s narrative, saving time and cutting costs on custom shoots. From professional presentations to social media campaigns, get polished results in seconds.

Do More With Your Cleaned Up Photo
A perfectly edited photo opens a world of creative possibilities. Once your image is ready, bring it into Pixlr Designer and explore a wide range of customizable templates. Use your revamped images for marketing campaigns and personal projects. From enhancing branding to improving engagement, our image eraser tool transforms your vision into reality.
See The AI Remove Object In Action
Make Your Real Estate Listings Shine
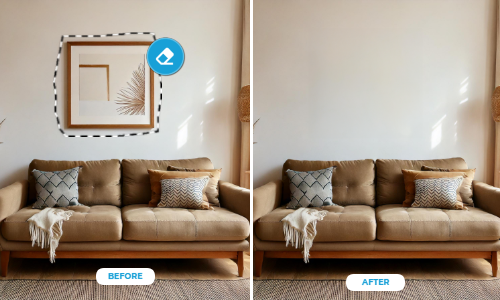
Enhance your property photos by removing clutter, vehicles, or distractions. Our image eraser tool ensures your listings stand out, capturing buyers’ attention with clean, professional images that highlight the property’s best features. Drive sales faster with visuals that tell the right story.
Fix Photos Post-Processing
Perfect your photography with effortless retouching. Use the erase image feature to eliminate imperfections, distractions, or unwanted objects. Ideal for wedding photography, portraits, or events, this tool guarantees polished results that preserve every precious detail.

Transform Your Fashion Catalog
Showcase your fashion pieces in the best light by erasing wrinkles, shadows, or creases. With the image eraser tool, elevate your catalog visuals to professional standards, ensuring each garment grabs attention and appeals to buyers like a charm.

Focus Your E-Commerce Products
Elevate your product images by removing background distractions. A cleaner image ensures your products take center stage, boosting conversions and creating a sleek, professional look for your online store. Let your photos drive sales like never before.
Erase Images Any Way You Want
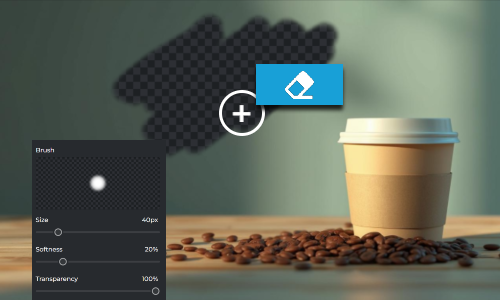
The Easiest Erase Tool Online
The Erase Tool in Pixlr Express makes removing unwanted parts of an image intuitive and precise. To use it, open your image in Pixlr Express, navigate to the "Drawing" option in the left menu, and select the eraser tool. Customize the brush size, softness, and transparency for fine-tuned control, then simply draw over the areas you want to erase.
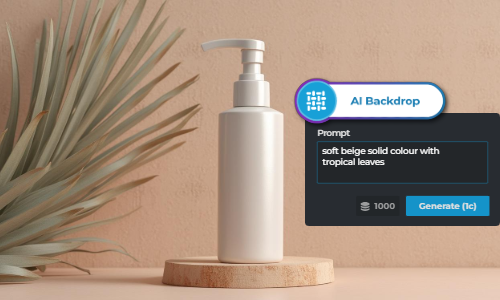
Erase And Replace Backgrounds With AI
Pixlr's AI Backdrop lets you easily replace or enhance photo backgrounds with just a few clicks. Start by opening your image in Pixlr Express, selecting Backdrop from “AI Tools’, and describing the type of background you'd like to generate. The AI will seamlessly separate the subject and replace the background, helping you erase distractions and bring your vision to life.
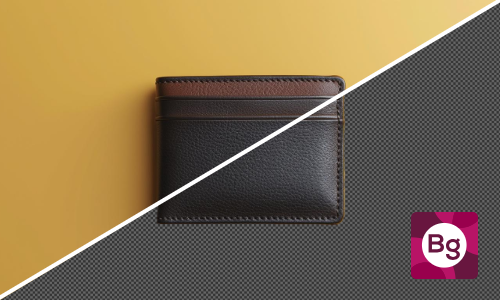
Erase Image Backgrounds Automatically
With Pixlr’s Remove Background feature, erasing backgrounds is quick and effortless. Upload your image to the Remove BG tool, and the AI will automatically detect and remove the background, leaving a clean, transparent cutout. Whether you’re creating professional headshots or showcasing e-commerce products, this tool ensures precision and ease.
Do More with Pixlr AI Tools
Frequently Asked Questions
What is Pixlr's Image Eraser tool?
Pixlr's Image Eraser is a feature that allows you to remove unwanted parts of an image by erasing specific elements.
How do I access the Remove Object feature in Pixlr?
Open your image in Pixlr Express. From the left menu bar, select AI Tools. Under the category you will find the Remove Object Tool.
Is there an undo option if I make a mistake?
Yes, you can undo any action by pressing Ctrl+Z (Cmd+Z on Mac) or by using the Undo button in the toolbar.
Is Pixlr's Image Eraser available on mobile devices?
Yes, Pixlr's Image Eraser can be accessed using Pixlr’s mobile app, the AI Art Photo Editor.
Does Pixlr offer tutorials on using the Remove Object tool?
Yes, Pixlr’s Youtube Channel has an enormous amount of tutorials to help you effectively use the Remove Object tool.
Is the Image Eraser tool free to use?
Yes, you can use the Pixlr image eraser tool for free. However, in the mobile version, it’s going to charge you one (1) AI credit for each generation.
Can I replace an object after removing it?
After removing an object, you can use Pixlr’s Generative Fill tool to add a new object, text, or design element in its place.